Conserving resources is constantly a part of my considerations. Thus, I conducted thorough research, exploring methods to retain more financial resources without the necessity of professional help.
My findings were quite thrilling: DIY home assignments can be a true haven for cost reduction. An intriguing fact I encountered is that the utilization of energy-efficient appliances such as slow cookers or LED lighting can lead to a decrease in our electricity bills.
This blog is dedicated to distributing those findings and guiding you on how to economize by handling tasks independently.
Are you prepared? Let’s commence with creating and economizing!
Budget-Friendly DIY Home Projects


Saving money at home doesn’t need to be hard. With a few easy DIY projects, you can cut costs and improve your living space at the same time. You can give old chairs and tables new life or stop drafts with weather-stripping.
Mix up your own cleansers with simple items from the cupboard. These small changes make a big difference in your bills and how your home feels.
Repurpose old furniture for new uses

I look around my house and see old furniture that could have new life. With a bit of creativity, I find ways to save money and make my living space unique.
- Turn an old ladder into a bookshelf. This gives me extra storage and a vintage touch.
- Make a desk out of an old door. I add some legs and it’s perfect for my workspace.
- Use an old dresser as a kitchen island. It adds more workspace and storage for pots and pans.
- Convert a crib into a bench. Great for the entryway or garden.
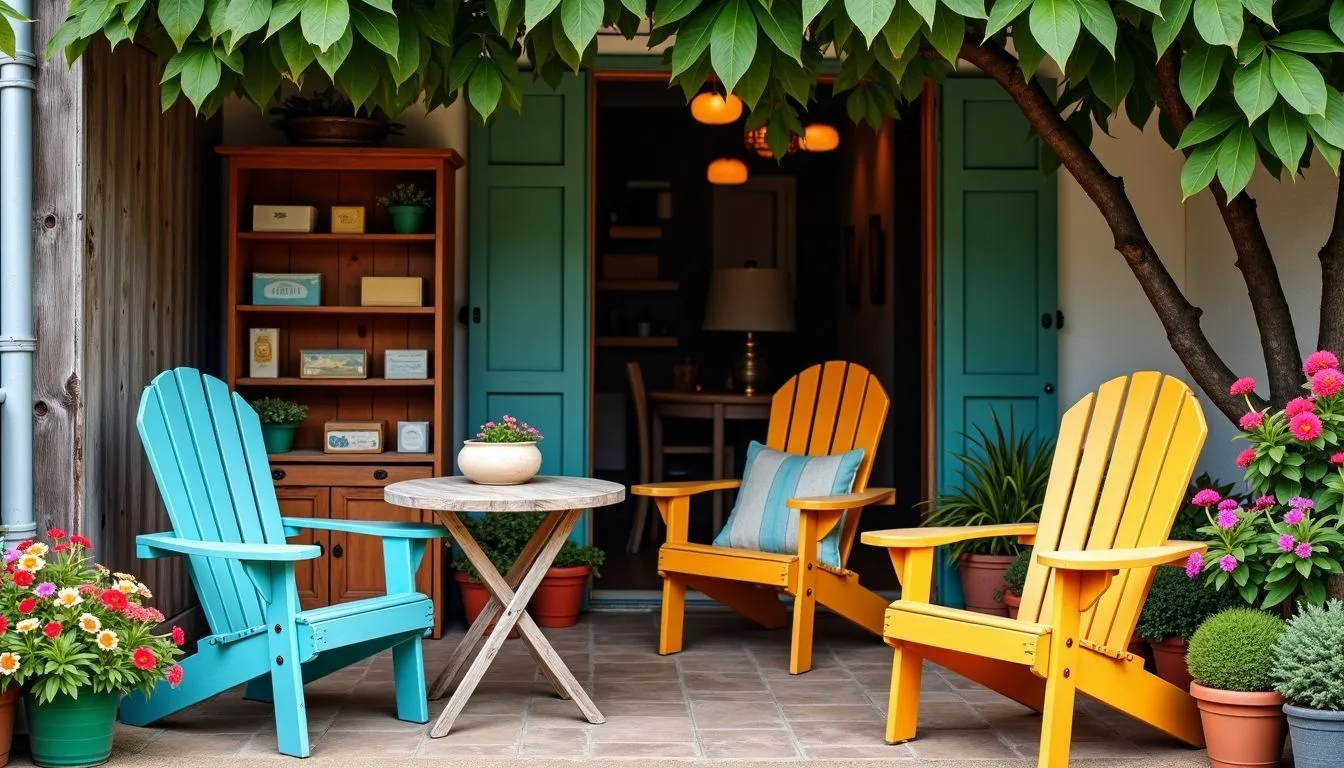
- Transform wooden chairs into outdoor plant stands. They look lovely with flowers or herbs.
- Create a new headboard from an old room divider. It adds charm to the bedroom.
- Repaint an old bookcase to fit in with modern decor. A fresh coat of paint makes it look new.
- Change a coffee table into an ottoman with some padding and fabric.
- Turn wine crates into bathroom shelves for towels and toiletries.
- Refinish an old cabinet to use as shoe storage by the front door.
Using these ideas, I give my home personal touches without spending much money on new items. Plus, I keep furniture out of landfills, which is good for the planet. This way, I blend saving money with creative expression in my home improvement projects.
Install weatherstripping to lower utility bills

I found a great way to save money at home. Installing weatherstripping is simple and cuts down on energy bills. This project keeps heat in during winter and cool air in during summer. It makes my house more energy-efficient.
- I looked at different materials for weatherstripping. Foam, rubber, and vinyl are options.
- I measured the spaces around doors and windows. Correct measurements ensure a tight fit.
- Next, I cleaned the areas where I would apply the weatherstripping. Dirt can prevent good adhesion.
- I chose self-stick weatherstripping for an easy install. It sticks right where it needs to go.
- For doors, I added sweep strips at the bottom. These keep drafts out from under the door.
- Some windows needed V-channel or tension seal strips. They fit right in the sides of movable windows.
- Checking for leaks was next. I used a candle flame to see if air moved the flame near sealed areas.
- Replacing old or worn-out weatherstripping was part of upkeep. It ensures my efforts last longer.
Doing this project myself saved me money on hiring someone else. Plus, my utility bills went down because my heating and cooling system didn’t have to work as hard. This means more money stays in my pocket each month.
Create homemade cleaning products

After weatherstripping the house, my attention then turns to its cleanliness. Creating my own cleaning supplies significantly reduces my expenses.
- My preferred option for most surfaces is a combination of vinegar and baking soda. The result is a clean and fresh-smelling kitchen and bathroom.
- Lemon juice is an excellent solution for hard water stains. I administer it straight to faucets and showerheads.
- A blend of olive oil and lemon juice acts as a good furniture polish. It imparts wooden items with a glossy finish.
- Window cleaning is made easy with water and white vinegar mix. It causes the glass to shine without marks.
- Baking soda serves as my trusted option for carpet odors. I scatter it, wait for a bit, then vacuum it away.
- For unblocking drains, my method involves pouring baking soda down the drain, following it up with vinegar, then flushing with hot water after a pause.
- A fusion of essential oils and water provides a refreshing room spray. Lavender is my pick for its calming properties.
- For laundry detergent, a concoction of washing soda, borax, and grated soap does the job. It leaves clothes looking clean and smelling fresh.
- I utilize hydrogen peroxide for sanitizing surfaces. It’s both practical and safe, particularly around food areas.
These home-made products are beneficial in two ways: they help in saving money, and they contribute to a healthier home by eliminating chemicals.
Benefits of DIY Projects for Saving Money


Doing projects by yourself at home can save you a lot of money. You pay less for things like fixing up your house and you can make it worth more. By choosing to do it yourself, you cut down on cash spent on experts and shop-bought goods.
Plus, simple changes like adding insulation or using sunlight instead of electric lights can lower your bills every month. This way, the money stays in your pocket, not someone else’s.
Reduce household expenses

Handling DIY tasks personally greatly assists in managing household expenses. Attending to errands independently is a smart way to prevent funds from being used on external assistance.
Furthermore, the act of reutilizing old items or opting for affordable materials aids in maintaining a reasonable budget. Creating homemade cleaning products, for instance, allows for the utilisation of existing ingredients such as vinegar and baking soda.
These projects induce a reconsideration of financial resource allocation. Acting as one’s own financial consultant eliminates the need for intricate investment counseling. Regarding energy expenditures – little enhancements like setting up weather stripping or ensuring the air dam is unblocked could notably decrease the monthly costs.
Implementing such changes minimises expenses on heating, cooling, and even water heating merely by patching up leaks or improving insulation. Monitoring websites like energystar.gov is beneficial as well; investing in appliances with lower power consumption yields substantial savings over time.
Increase the value and functionality of your home

Saving money is great, but making my house worth more and work better for me is the next step. I found out that doing it myself can really pay off here. Adding things like solar panels cuts down my energy use and saves me a lot every month.
Making more room in my house by turning an old closet into a quiet office space means I have a place to work on my big ideas.
I also saw that small changes make a big difference. Just swapping out old light bulbs for LED ones or putting in water-saving heads in the shower can up my home’s value and cut utility costs.
Every project, from adding insulation to updating kitchen appliances, makes living there better and could mean more money if I decide to sell later.
Tips for Starting DIY Home Projects


Jumping into DIY home projects can save you cash and make your space better. First, plan how much you want to spend and list what you need. This helps avoid running out of materials halfway through.
Second, pick tasks that are easy for beginners. You’ll learn as you go without feeling overwhelmed.
Plan a budget and gather necessary materials
My method always begins with drafting a budget. This action prevents me from overinvestment in my DIY endeavors. I assess the amount I can afford while maintaining my financial stability.
Subsequently, I investigate the cost of materials online and via local stores. Such a strategy allows me to locate the most economical options.
Accumulating the required materials is my subsequent step. For this purpose, I deploy a list to certify no item is overlooked—components such as paint, brushes, screws, or wood might depend on the project.
Exploiting online tools and local outlets, I procure what’s required without exceeding my budget.
Start with simple, manageable tasks
I always pick easy projects first. These are ones that don’t make me feel overwhelmed. For example, organizing my inbox or changing a spark plug feels good to start with. It’s like warming up before a big game.
This way, I build confidence in fixing things around the house.
Then, I plan and organize everything. Knowing what tools or materials I need helps me stay focused. Whether it’s buying mulch for the lawn or getting a new filter for the fridge, having a list makes shopping quick and easy.
Plus, completing these small tasks gives me the push to tackle bigger projects later on.
Conclusion

We talked about saving money with DIY home projects. You can give old chairs and tables new life or make your own soap. These steps cut costs at home. Making things yourself means you can decide how they look and work in your space.
Starting is easy – just plan what you need and pick a small job first.
Doing it this way, we spend less on experts for simple fixes and upgrades around the house. Plus, using less power helps everyone’s bills go down over time. We also learned that making changes ourselves boosts our place’s value.
For help, many websites show how to tackle these tasks step by step. You’re not alone in trying to make your home better without spending a lot of money.
So, let’s grab our tools! It feels great to see what we’ve done with our own hands.